Matt
Owner
Download the Raspian OS from here : http://www.raspberrypi.org/downloads/
Load the image to the memory card following the guide here: http://www.raspberrypi.org/documentation/installation/installing-images/windows.md
During the initial install, I set the OS to boot into terminal mode from the advanced menu.
So, first, update the OS to make sure everything is on the latest, and I always edit files using VIM, so install that.
The 1TB drive I've installed was pre-configured on my windows machine using NTFS file system
To enable the Pi to see the file system, install the ntfs-3g package
Plug in the USB HDD. Doing a fdisk -l should now see the USD media
/dev/mmcblk0 is the memory card. /dev/sda is the USB HDD.
Now, we want to make a mount point for the HDD
We are going to use Samba to allow the windows PC's to access the drive over the network
Backup the config file
Edit the config file
First, we want to make sure only allowed users can access the shares. In the config file, uncomment security = user
Then, at the bottom of the file, we are going to create a new section mapping the share
Start the samba daemon
So, to add the user to the system who we want to give access to
We then add them to the samba password group
Finally, to make the system mount the drive on reboot, we need to add an entry to fstab
Add the following to a new line
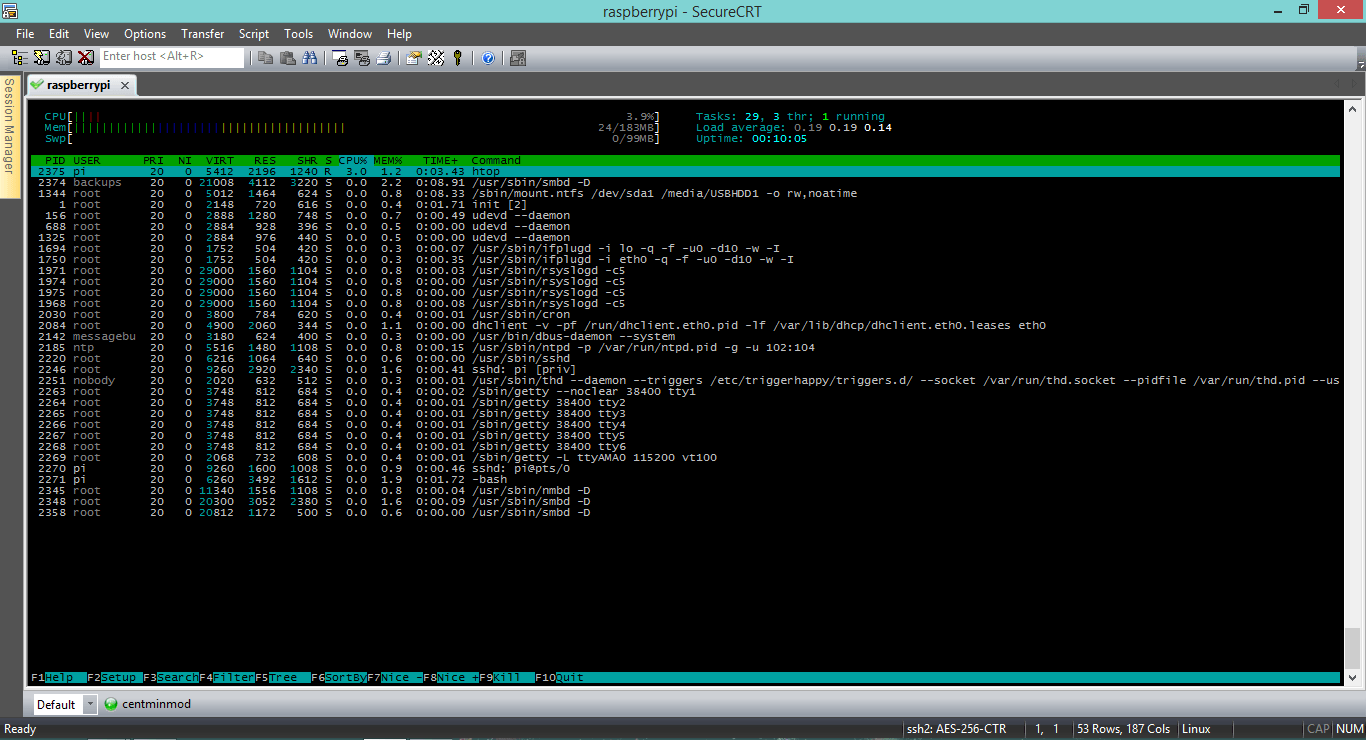
All up and running

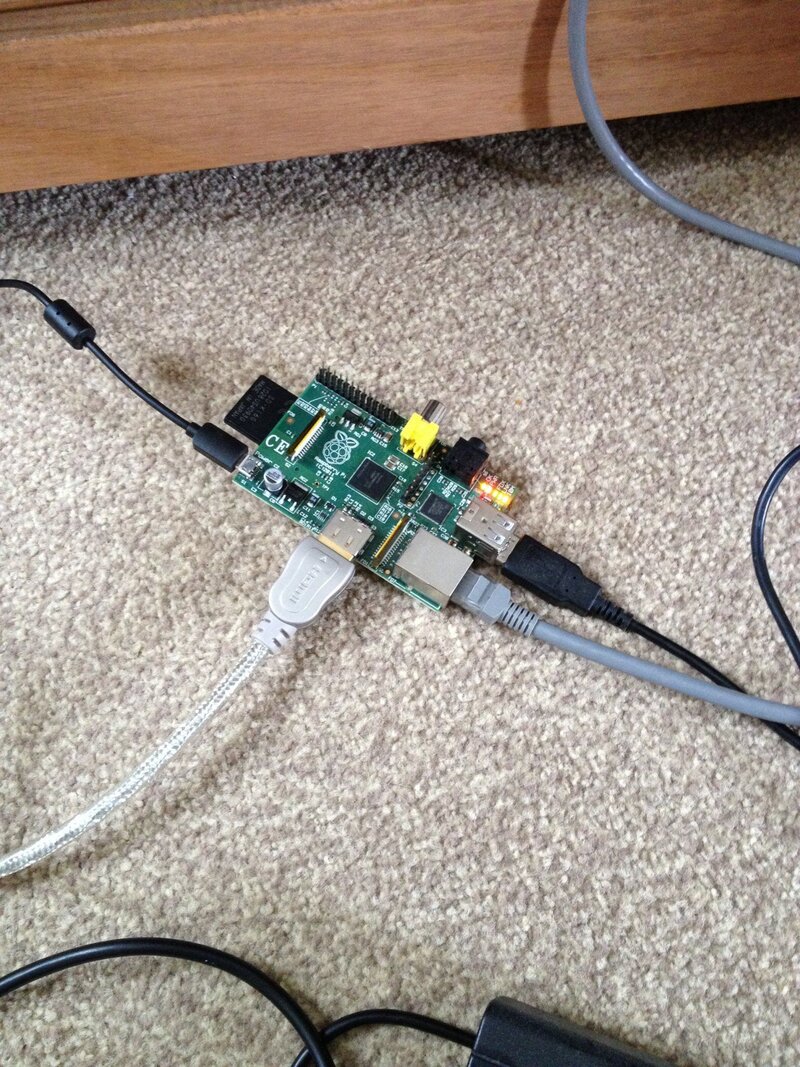
Configuring it without a case

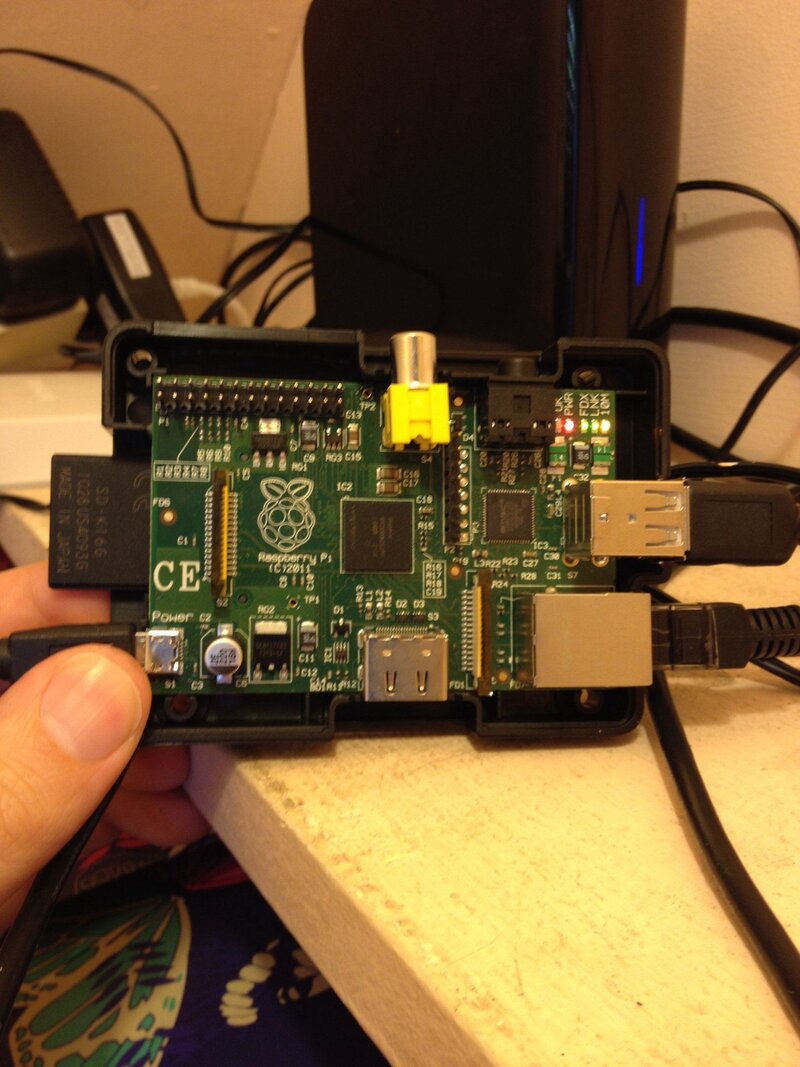
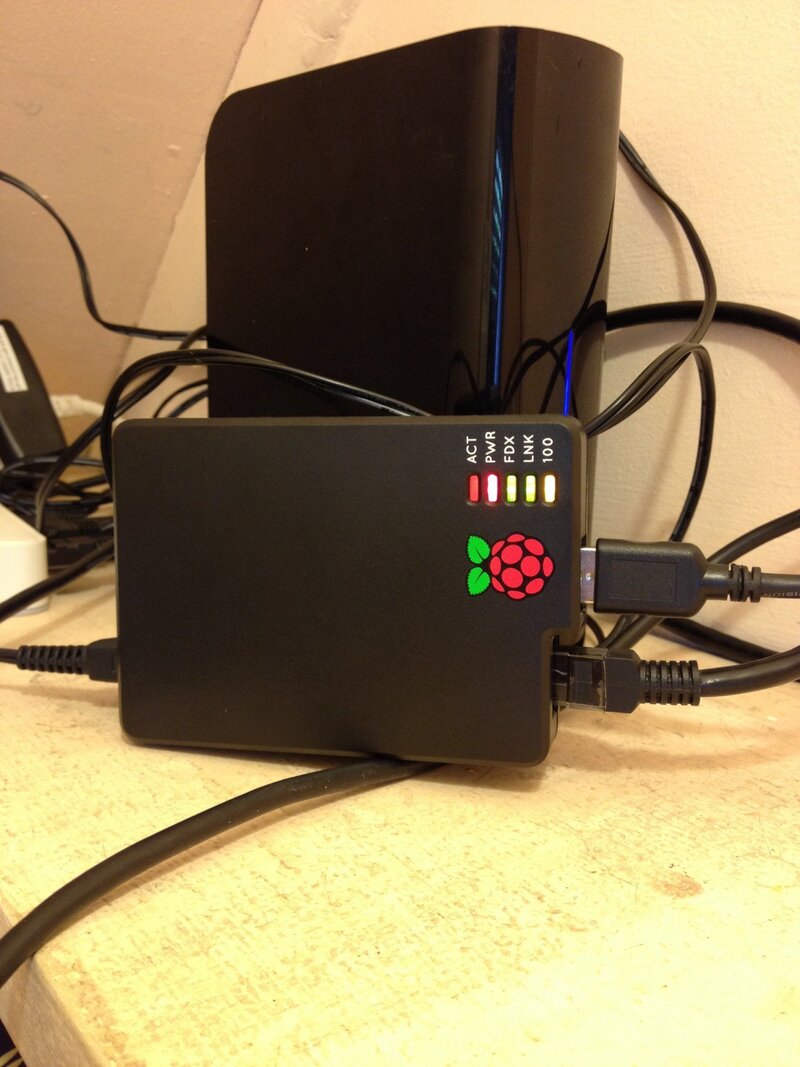
I then went to Maplin and bought a case for £5.99 for it


Load the image to the memory card following the guide here: http://www.raspberrypi.org/documentation/installation/installing-images/windows.md
During the initial install, I set the OS to boot into terminal mode from the advanced menu.
So, first, update the OS to make sure everything is on the latest, and I always edit files using VIM, so install that.
Code:
# sudo apt-get update
# sudo apt-get upgrade
# sudo apt-get install vimTo enable the Pi to see the file system, install the ntfs-3g package
Code:
sudo apt-get install ntfs-3gPlug in the USB HDD. Doing a fdisk -l should now see the USD media
Code:
pi@raspberrypi ~ $ sudo fdisk -l

Disk /dev/mmcblk0: 16.0 GB, 16039018496 bytes
4 heads, 16 sectors/track, 489472 cylinders, total 31326208 sectors
Units = sectors of 1 * 512 = 512 bytes
Sector size (logical/physical): 512 bytes / 512 bytes
I/O size (minimum/optimal): 512 bytes / 512 bytes
Disk identifier: 0x000b5098

        Device Boot      Start         End      Blocks   Id  System
/dev/mmcblk0p1            8192      122879       57344    c  W95 FAT32 (LBA)
/dev/mmcblk0p2          122880    31326207    15601664   83  Linux

Disk /dev/sda: 1000.2 GB, 1000204886016 bytes
255 heads, 63 sectors/track, 121601 cylinders, total 1953525168 sectors
Units = sectors of 1 * 512 = 512 bytes
Sector size (logical/physical): 512 bytes / 512 bytes
I/O size (minimum/optimal): 512 bytes / 512 bytes
Disk identifier: 0x44fdfe06

   Device Boot      Start         End      Blocks   Id  System
/dev/sda1   *          63  1953520062   976760000    7  HPFS/NTFS/exFAT
pi@raspberrypi ~ $Now, we want to make a mount point for the HDD
Code:
sudo mkdir /media/USBHDD1
sudo mount -t auto /dev/sda1 /media/USBHDD1
cd /media/USBHDD1
We are going to use Samba to allow the windows PC's to access the drive over the network
Code:
sudo apt-get install samba samba-common-binBackup the config file
Code:
sudo cp /etc/samba/smb.conf /etc/samba/smb.conf.oldEdit the config file
First, we want to make sure only allowed users can access the shares. In the config file, uncomment security = user
Code:
# "security = user" is always a good idea. This will require a Unix account
# in this server for every user accessing the server. See
# /usr/share/doc/samba-doc/htmldocs/Samba3-HOWTO/ServerType.html
# in the samba-doc package for details.
   security = user
Then, at the bottom of the file, we are going to create a new section mapping the share
Code:
[NAS]
comment = NAS
path = /media/USBHDD1
valid users = @users
force group = users
create mask = 0660
directory mask = 0771
read only = no
Start the samba daemon
Code:
sudo /etc/init.d/samba restartSo, to add the user to the system who we want to give access to
Code:
sudo useradd backups -m -G users
sudo passwd backups
Code:
sudo smbpasswd -a backupsFinally, to make the system mount the drive on reboot, we need to add an entry to fstab
Code:
sudo vim /etc/fstab
Code:
/dev/sda1 /media/USBHDD1 auto noatime 0 0All up and running

Configuring it without a case

I then went to Maplin and bought a case for £5.99 for it


